How to Restore a Neglected Bowling Green in One Season
A bowling green that has been left for a few years does not look like a bowling green any more. The grass is long and tufted, the moss has moved in, the weeds have followed, and there is bare soil where the heads used to be. Most people who look at a green like that assume it is gone for good, or that it needs digging up and relaying at a cost no small club could find.
It does not. This year I watched a club not far from me bring a green back from about three years of neglect. They started in April and they were playing bowls on it by the end of July. I had nothing to do with the work, and none of it was my programme or my products; I went and had a look at the green when they said they were going to take it on, and I have seen it since. They went about it the right way, and this is how it is done.
I am Duncan Gray. I spent my working life in greenkeeping, latterly in charge of nine bowling greens for Kyle and Carrick, including Ayr Northfield for the World Championships.
Some of the links below go to our own shop. If you buy through them we may earn a small commission, at no extra cost to you. I only point you at products I use on a green myself.
Jump to a section:
- What the green looked like
- What they did, and how long it took
- When to start
- Bring the height down slowly
- Kill the moss, then scarify
- The weeds
- Overseed the bare ground
- Top dress
- Feed it
- The one thing that undoes all of it
- People and money
- Once it is back
What the green looked like
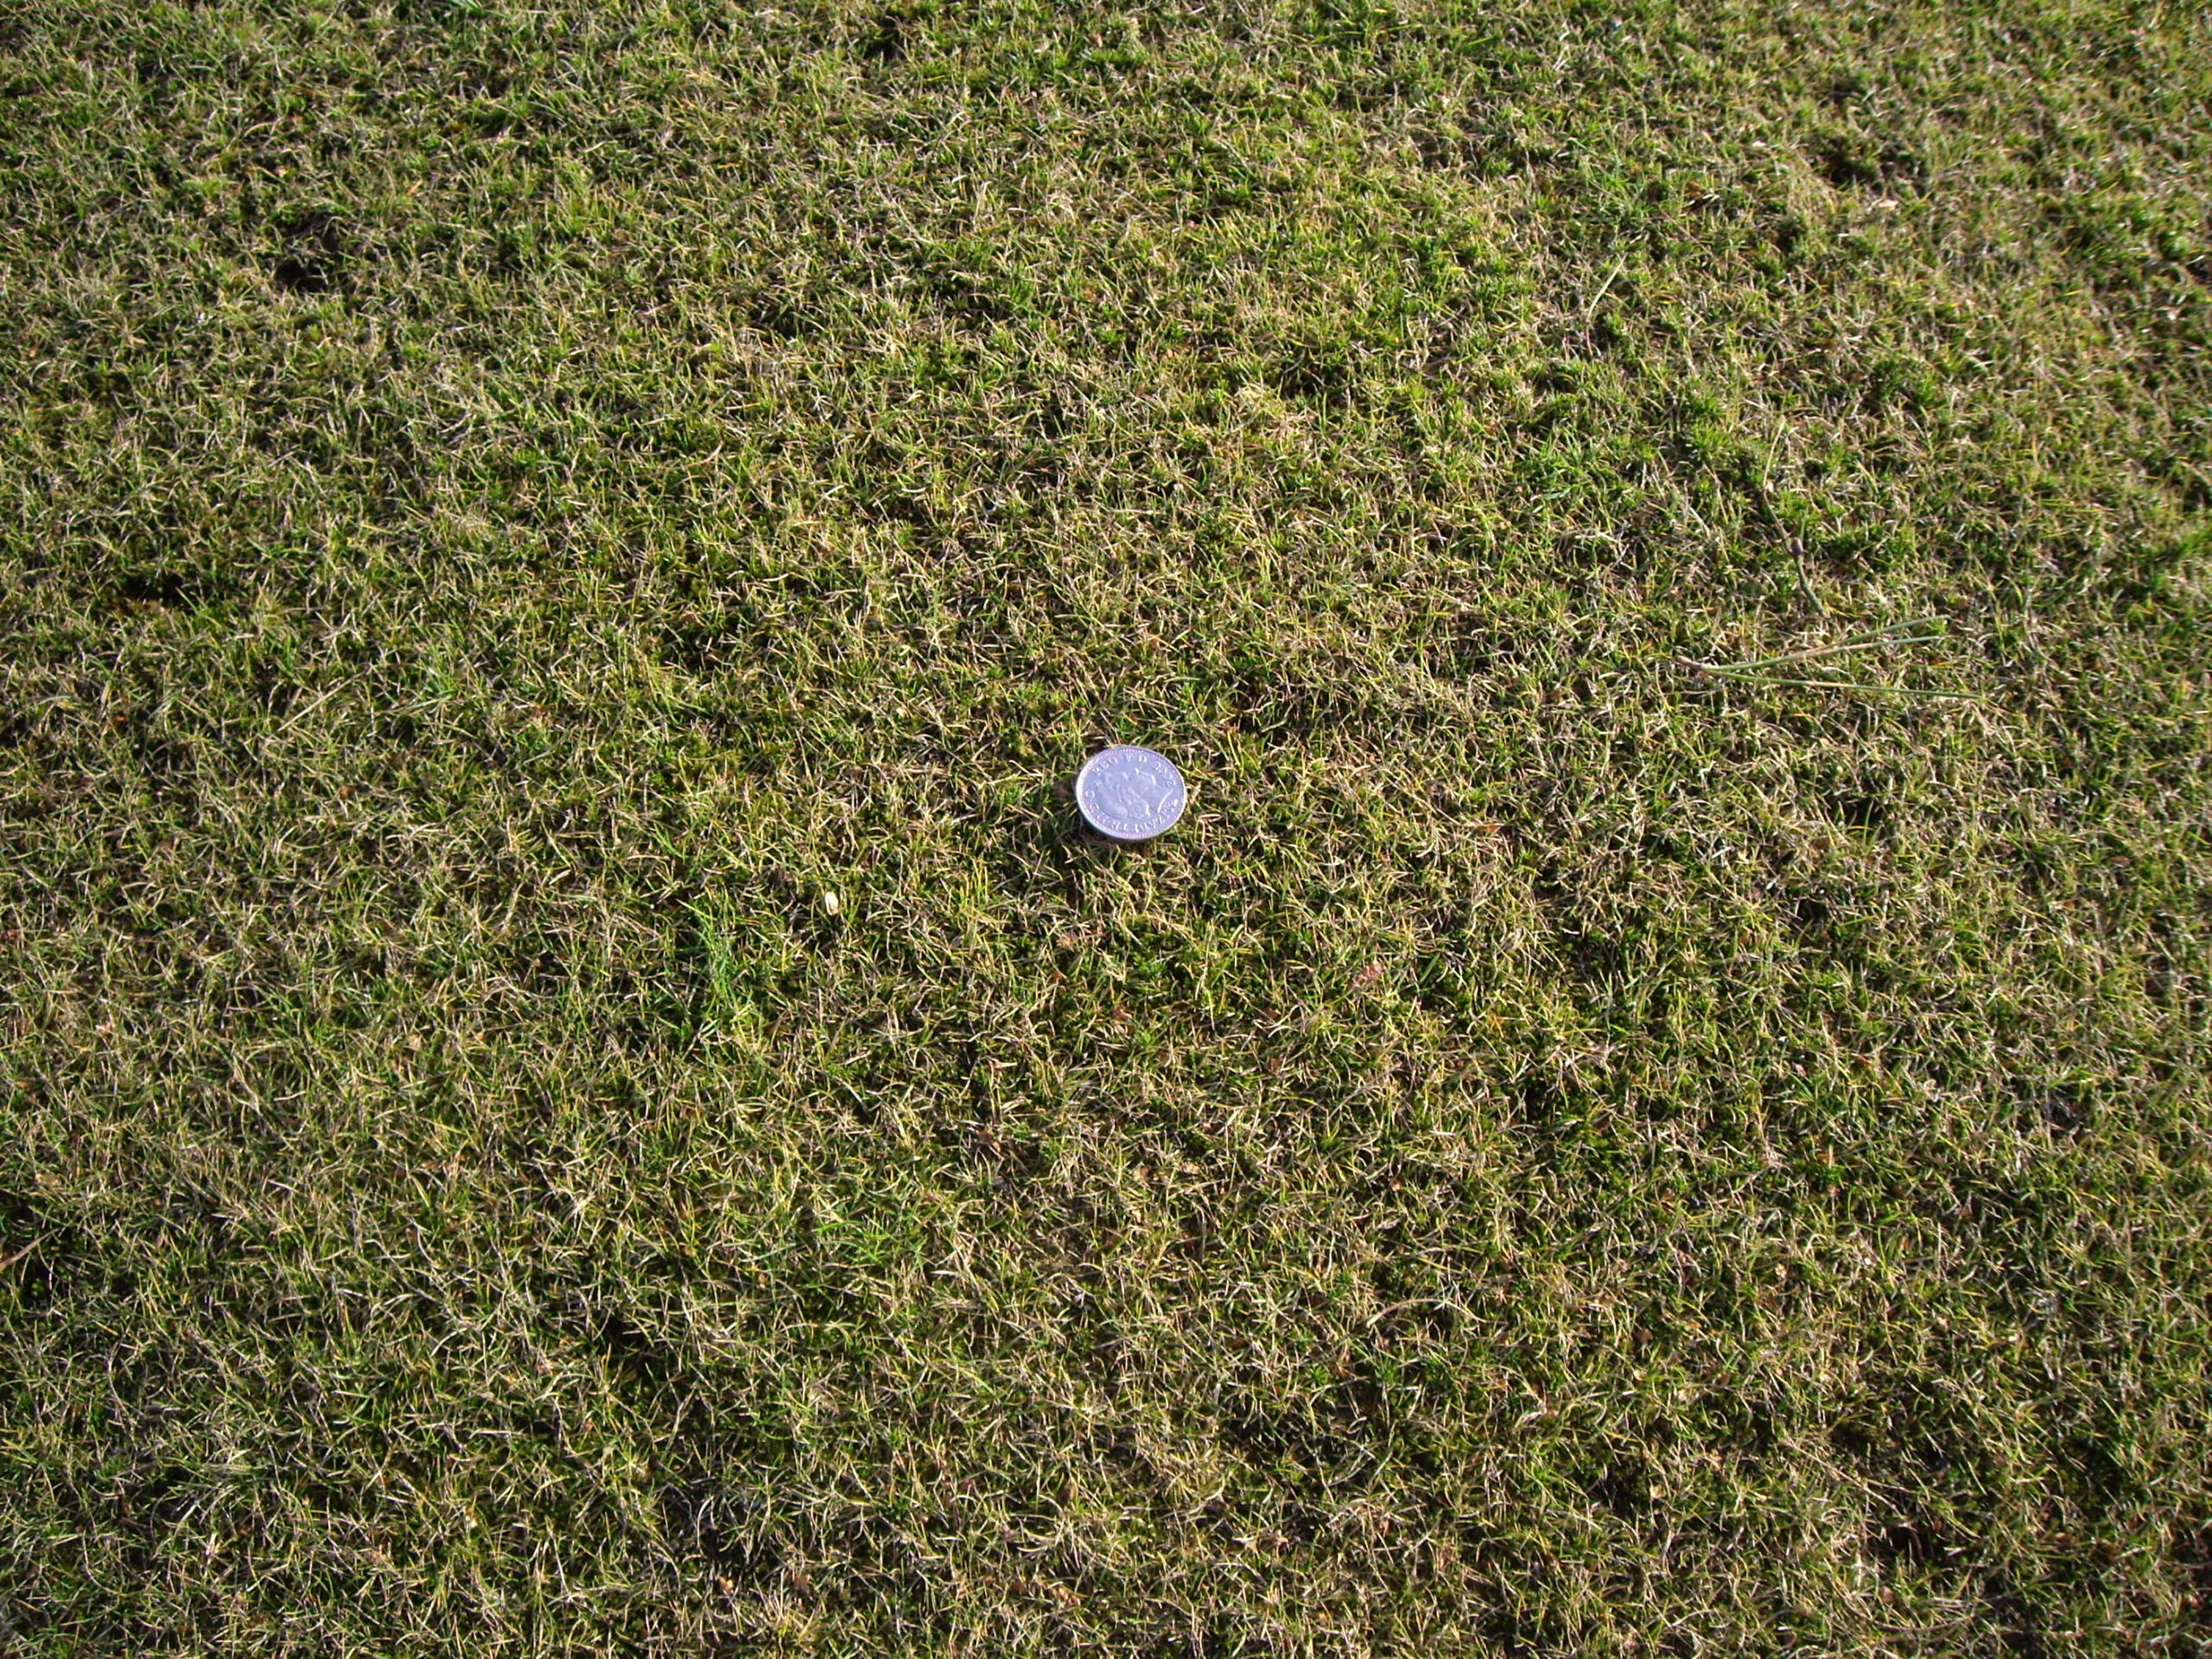
It was pretty bad. The grass was long, an inch and a half to two inches, somewhere around forty to fifty millimetres, against the six or seven a green is played at. There was more bare ground and moss on it than there was grass, and what grass there was was not in great order: thin, tufted and coarse where it had been left to grow. Over half of the surface was moss, weed and bare soil.
If your green looks like that, you are in the same place they were, and three years is about the limit of what one season will put right. A green that has been left longer than three years can still be brought back the same way, but it will take longer.
What they did, and how long it took
They went at it hard from April. In outline:
- Cut the grass down slowly, over a number of weeks, not in one go.
- Scarified it to get the moss and the dead material out.
- Overseeded the bare and thin ground.
- Top dressed it.
- Fed it.
By the end of July they were playing on it, which gave them a couple of months of bowls in the same season out of a green that had been left for three years. That is what can be done in one year. It was a big project, and they had people: twelve to fifteen volunteers, all getting stuck in, and some local funding and fundraising behind them to pay for the materials.
The rest of this article is each of those steps, in the order they go, and what I would watch for.
When to start
You can start any time of year, even in the winter. The ideal is the autumn, because the autumn is when a green does its recovering: the soil is still warm, there is rain, and the grass has the whole winter and spring to knit together before anybody plays on it. But April, when this club started, is a good time too, and you do not have to wait for the perfect month to make a start.
What changes with the time of year is which jobs you can do:
- Overseeding goes on any time in the growing months, when the weather suits: warm enough and moist enough for the seed to come through.
- Top dressing can go on any time over the winter, as well as with the seed.
- Bringing the height down can start any time the grass is growing and the ground will carry a mower.
So if you are taking on a green in the autumn, do it the way any club does its renovation, and have the scarifying, seeding and dressing finished by the middle of October; the steps are in autumn bowling green maintenance and renovation. If you are taking it on in the winter, start bringing the height down whenever the weather allows, get the moss under control with iron, slit it and dress it, and leave the scarifying and the seed for the spring, as this club did. There is more on the winter jobs in bowling green winter maintenance.
Bring the height down slowly
This is the step people get wrong, because the temptation with a green that looks like a hay field is to set the mower low and take it all off in a morning. Do that and you scalp it: you cut below the green leaf into the brown stems, the grass that was there turns yellow, and you have made more bare ground, not less.
Take no more than a third of the leaf off at a time, once a week, until you are just above six or seven millimetres. Then hold it there while the sward thickens up, and bring it down from there the way you would on any green in the spring.
From forty-five millimetres that looks roughly like this: thirty the first week, then twenty, then about thirteen, then nine, then down to seven. Five or six weeks of patience, and the grass gets a chance to adjust at every step. Box the clippings off every time; on a green this long they would smother whatever is underneath.
Kill the moss, then scarify
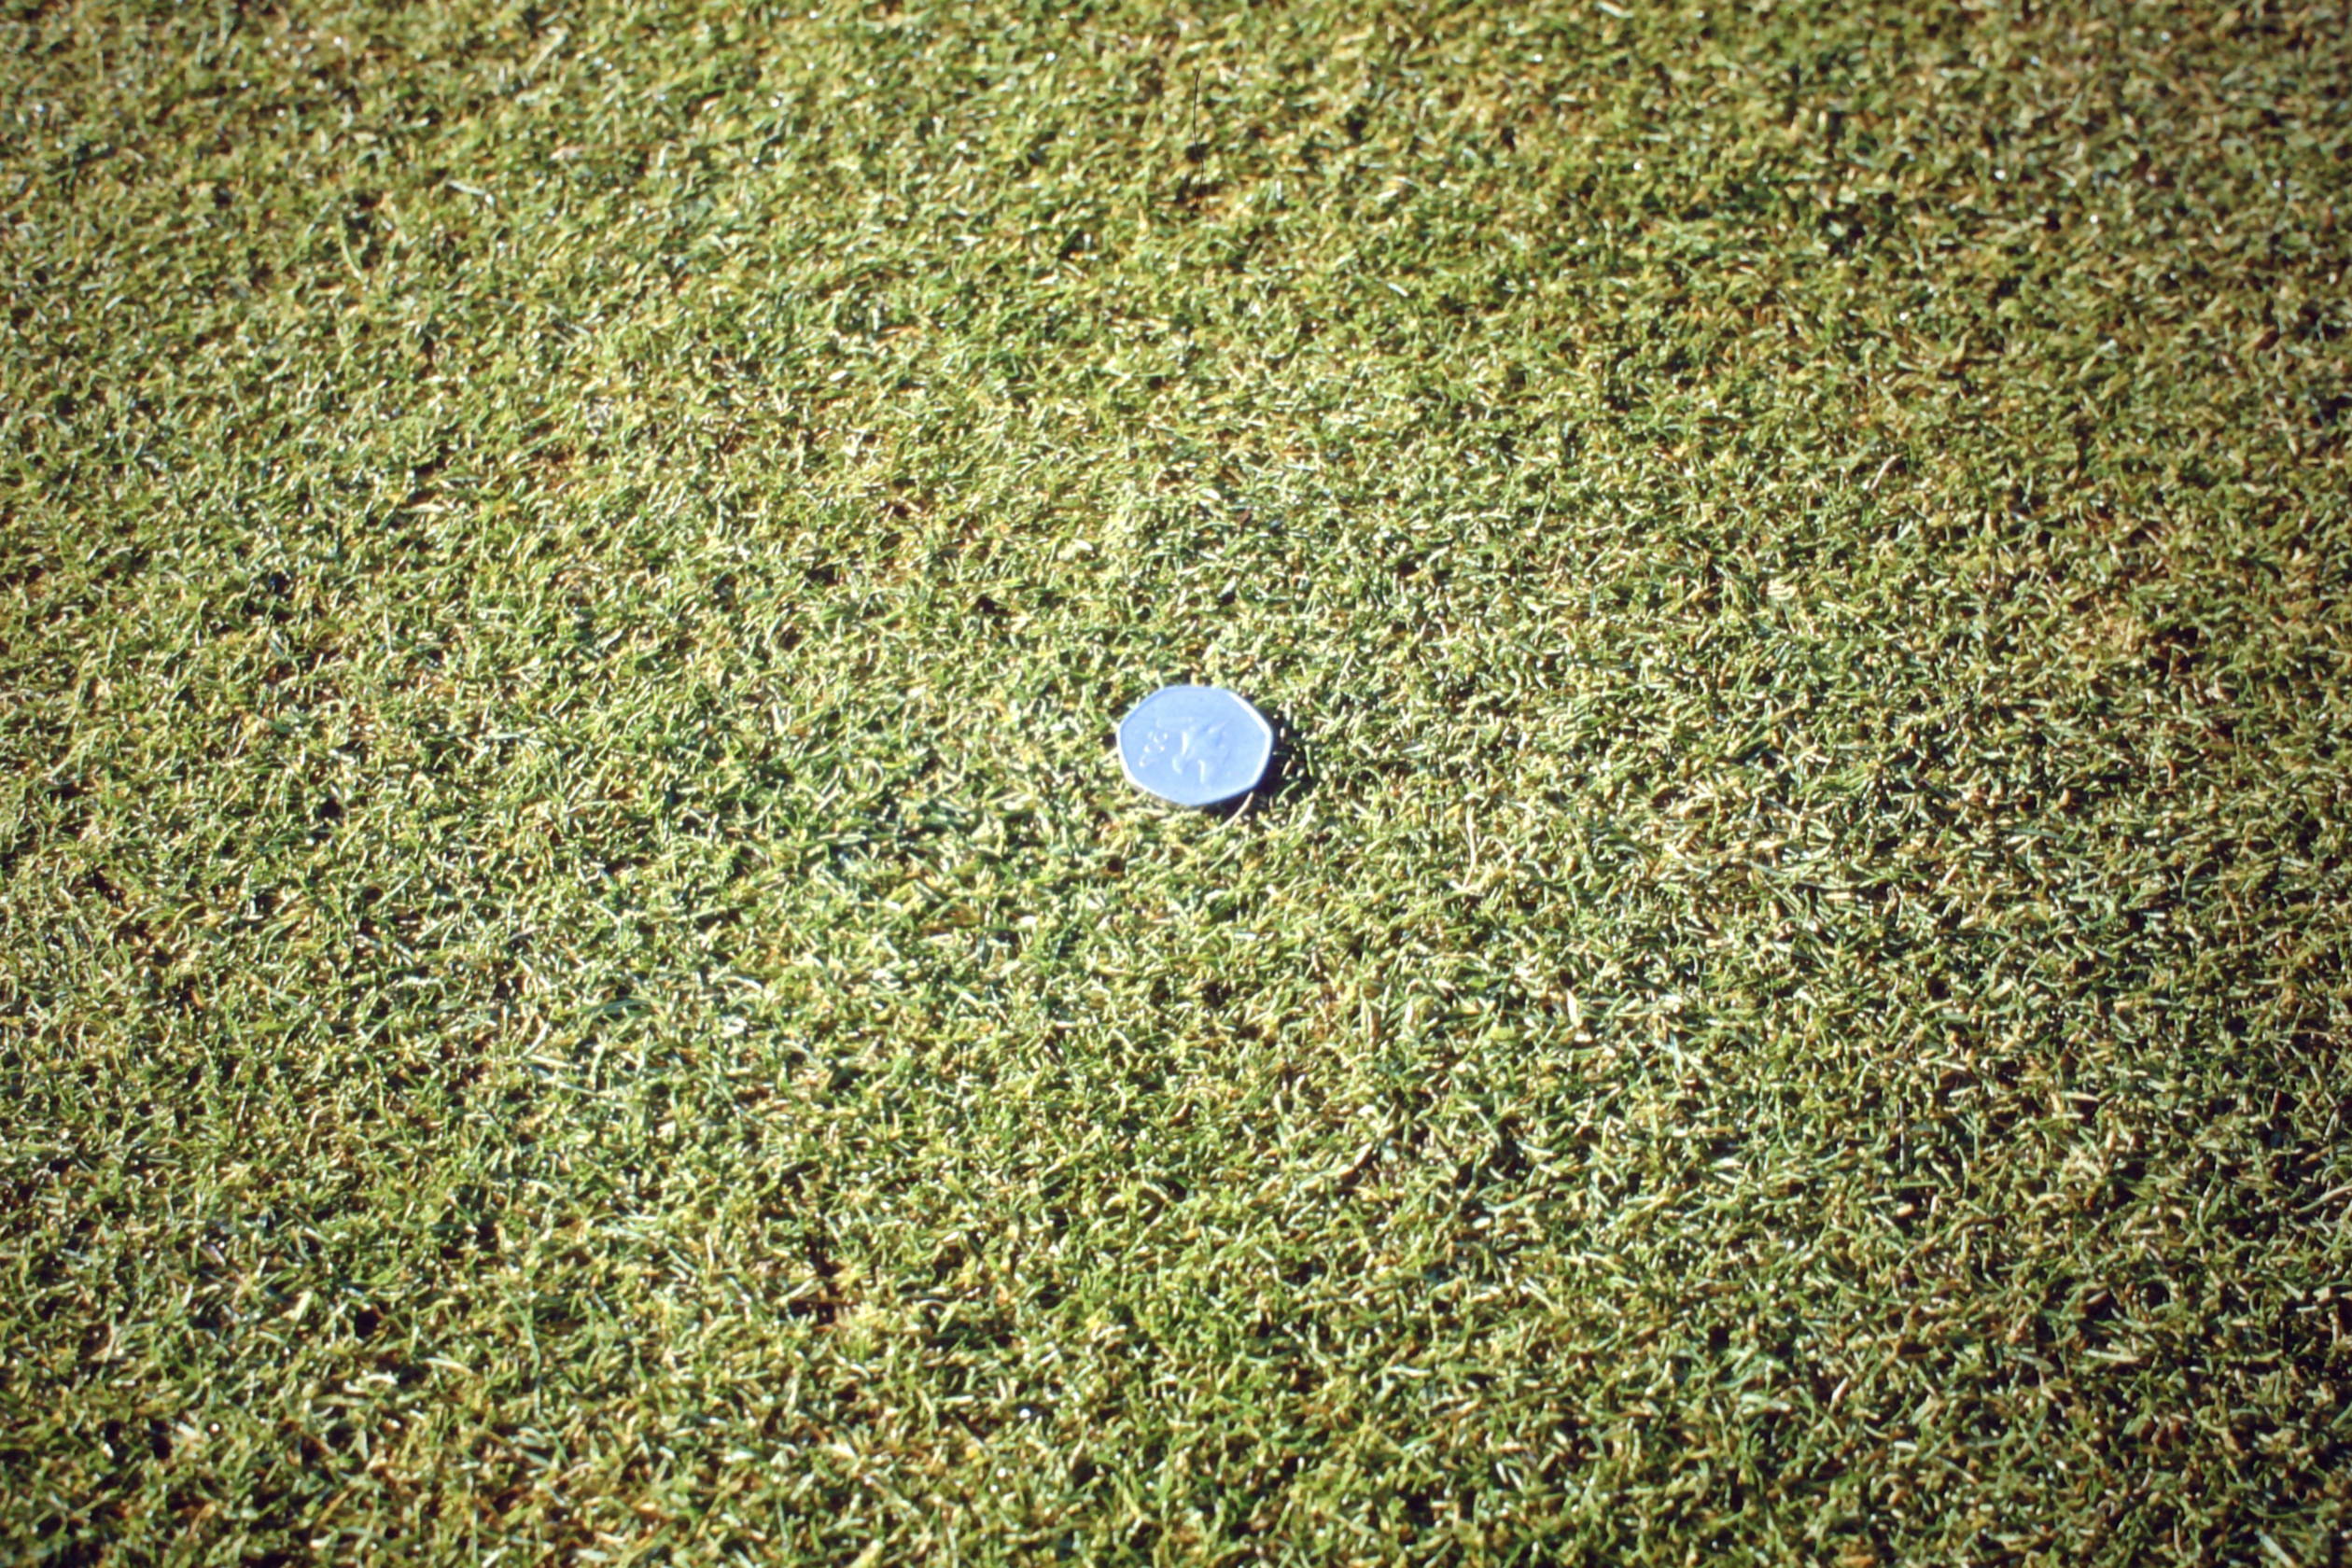
With half the green in moss, the scarifier is the machine that does the heavy work, but it does it far better on moss that is already dead. Kill it first with iron: sulphate of iron dissolved and sprayed on, about three kilos to a standard green of fifteen hundred square metres, one and a half kilos to each twenty-five litre fill of a walk-behind sprayer. The moss blackens within a week or two. Then scarify, about two weeks after the iron, the same gap I use in the spring on a green that is looked after, and the dead moss comes out in the scarifier and the grass underneath gets the light.
Check the thatch while you are at it: cut a small plug with a knife and look at the brown, spongy layer between the leaf and the soil. On a green left for years it will be well over the two centimetres where I would start to worry. Two passes, the second at right angles to the first, and clear the debris off after every pass. Expect it to look a mess for a fortnight. It is supposed to.
Do not scarify in the winter. If you start in the winter, iron the moss to keep it down, every four to six weeks from mid November to late February, and let it come out with the spring scarify in April rather than tearing the surface open to the frost.
The weeds
On a neglected green the weeds are the easiest of the three problems to fix, because once the grass is cut regularly at a green height most of them cannot survive it. What is left gets spot treated with a selective weedkiller. A five litre can is about fifty pounds, and on a green that is looked after that will last you a long time.
One thing to know before you start: a professional weedkiller has to be put on by somebody who holds a spraying certificate. If nobody at the club has one, this is a job for a contractor, and it is a small one.
Overseed the bare ground
With the moss out and the height coming down, the bare soil has to be filled with grass, and that means seed. Use a proper bowling green seed mix, fescue and bent, sown at the rate on the bag. No ordinary ryegrass: it is too coarse and will not take a green cutting height. The modern dwarf ryegrasses are very good, though, and on the very worst, most heavily worn ground they can be useful.
The seed has to touch soil to come through, so sow it straight after the scarifier while the surface is open, and work it into slits or fork holes where you can. On a green with this much bare ground it is well worth hiring one of the specialised overseeding machines as well; they put the seed into the surface rather than on top of it.
Then keep it moist. Seed comes through in two to three weeks in the growing months. Watch for a faint green haze in the scarifier lines and the holes, and do not panic if it is slow in a cool spell.
Top dress

Top dressing goes on after the seed, with a tested medium-coarse sand, and it does three jobs at once on a green like this: it covers the seed, it starts to fill in the hollows that three years of nobody looking after it will have left, and it gives the new roots something better than old thatch to grow into. About two kilos per square metre at a time, on a dry day, brushed or luted in until the surface is true and no dressing is left sitting on top of the grass.
On a green that is looked after, five tonnes a year does the season, at around seven hundred and fifty pounds. A green coming back from neglect will need its share of that and probably more, and it is the one material you will not regret having spare.
Feed it
A neglected green is a hungry green. Nothing has gone on it for years, so once the grass is coming down and the seed is in, it needs feeding to fill in.
Follow the green’s own calendar from wherever you start. In the spring, the first feed goes on in the first spell of mild weather in mid to late March, with iron in it for the moss. From the start of May a liquid feed every six weeks or so to the middle of August. In the autumn, a low nitrogen, high potassium feed with iron and seaweed in it, put on once the new seed has come through, not before, or you feed the old grass over the top of the new. If you have just seeded in spring or summer, the same rule holds: let the seed come through, then feed the whole sward together.
The whole year, month by month, is in a year’s maintenance on a bowling green, and the products I would use are in the best fertilisers for autumn and winter.
The one thing that undoes all of it
If I had to pick the one thing that goes wrong on bowling greens twelve months of the year, it is the mower: it must be extremely sharp, kept sharp, and properly set. I would say nine clubs in ten do not do that.
On a green coming back from neglect it matters even more. A blunt mower on long, tough grass tears it instead of cutting it, and on the new seedlings it pulls them out instead of cutting them cleanly so they tiller. Have the mower serviced and sharpened before you start, and if you are cutting more than three times a week through the season, plan on a second sharpen in July.
People and money
This club did it with twelve to fifteen volunteers, which is a lot of people for a bowling club, and that is what made one season possible. The heavy weeks are the start: the cutting down, the scarifying and clearing, and the seeding and dressing. After that it settles into what any green needs, week in, week out.
For the money, they had some local funding and raised the rest. As a guide, the materials for a full-size green that is looked after cost about seventeen hundred pounds a season at today’s prices, around seven hundred and fifty in the spring and nine hundred and fifty in the autumn, with the top dressing on top at about seven hundred and fifty. A first year back from neglect will need more seed and more dressing than that. If you are putting a funding bid together, those are the figures to start from.
If you would rather have the season’s materials worked out for you, that is what the bowling green package is for: every fertiliser and seed the green needs for the year, delivered to the club, with my month-by-month programme. And if you would like me to come and look at the green before you start, or to talk it through by phone or video call, have a look at the bowling green maintenance service.
Once it is back
Getting a green back is one season. Keeping it is every season after, and the thing to remember is that a green does not go back to neglect all at once; it goes a week at a time. The routine is not complicated:
- Through the season, mow it sharp and regularly, feed it, and keep the moss down with iron.
- At the end of the season, the autumn renovation, finished by the middle of October: aerate, scarify, overseed the heads, top dress. That first autumn after a revival is where the green really catches up.
- Over the winter, even if only one volunteer has two hours: keep the worm casts switched off, get the leaves, debris and bird droppings off the green, and check for disease.
The whole year is in the bowling green calendar, a free PDF with every month’s jobs on one page each, which is a good thing to hand a new team of volunteers. For the green as a whole, the place to start is the definitive guide to maintaining a bowling green.
A green that has been let go looks like a lost cause. It is not. Three years of neglect came back in one season here, with the right order of work and enough people willing to do it.